Comfortable Camping by Electric Bike – Part 3 w/ eCamping Tips
 I’ve already covered an e-bike camping trip taking plenty of gear to make me comfortable in this post and this post.
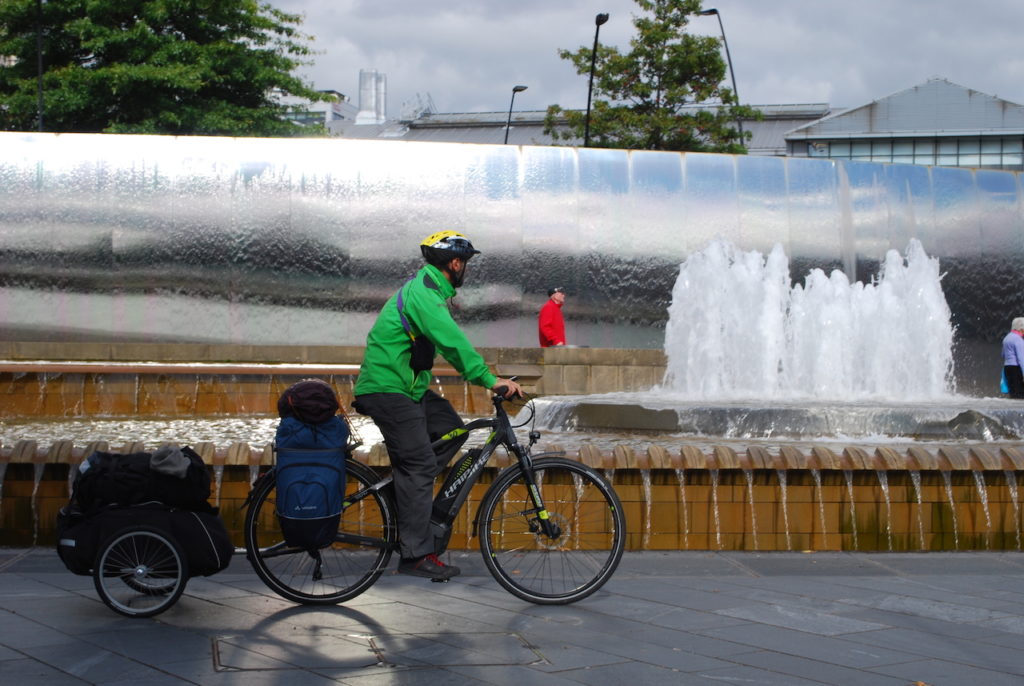
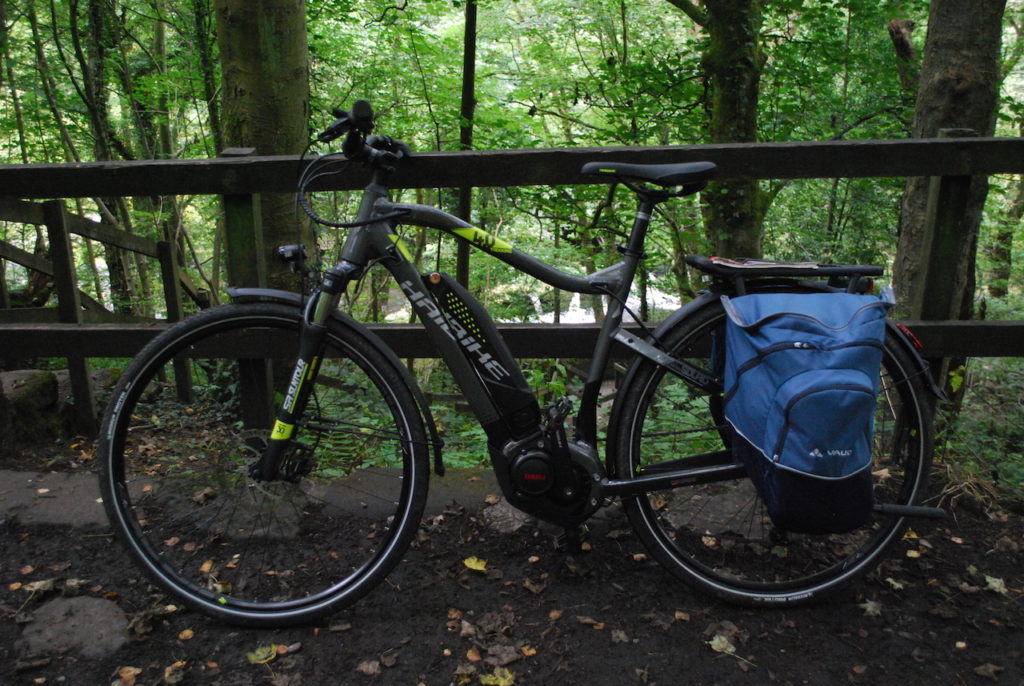
For this second trip I took a Haibike Sduro Trekking 4.0 which looked a good choice on paper and a Radical Design Chubby trailer (reviewed here) to enable me to carry more gear than last time (and the Chubby also packed down well, as some train travel was involved).
An e-cargo bike would be a great alternative for heavy duty camping trips like this but as they are not allowed on UK trains one wasn’t suitable for this particular trip.
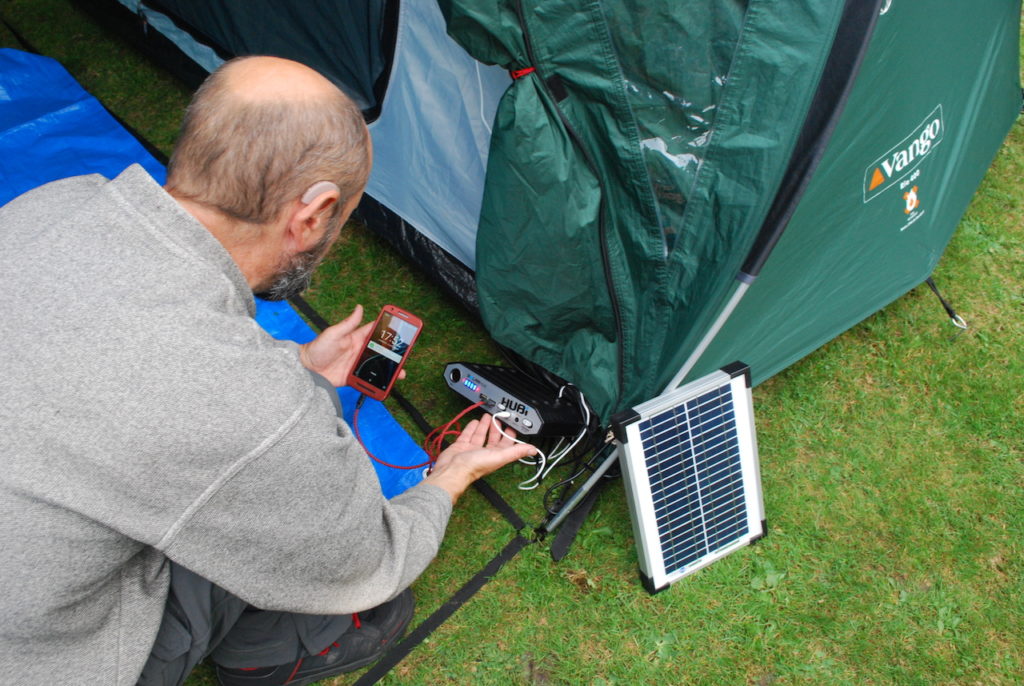
I’d planned a three night break for myself and brother with even more creature comforts than last time, including a much bigger tent, the ability to cook basic meals and a solar-powered LED lighting and charging with the HUBi 2K from Solar technology.
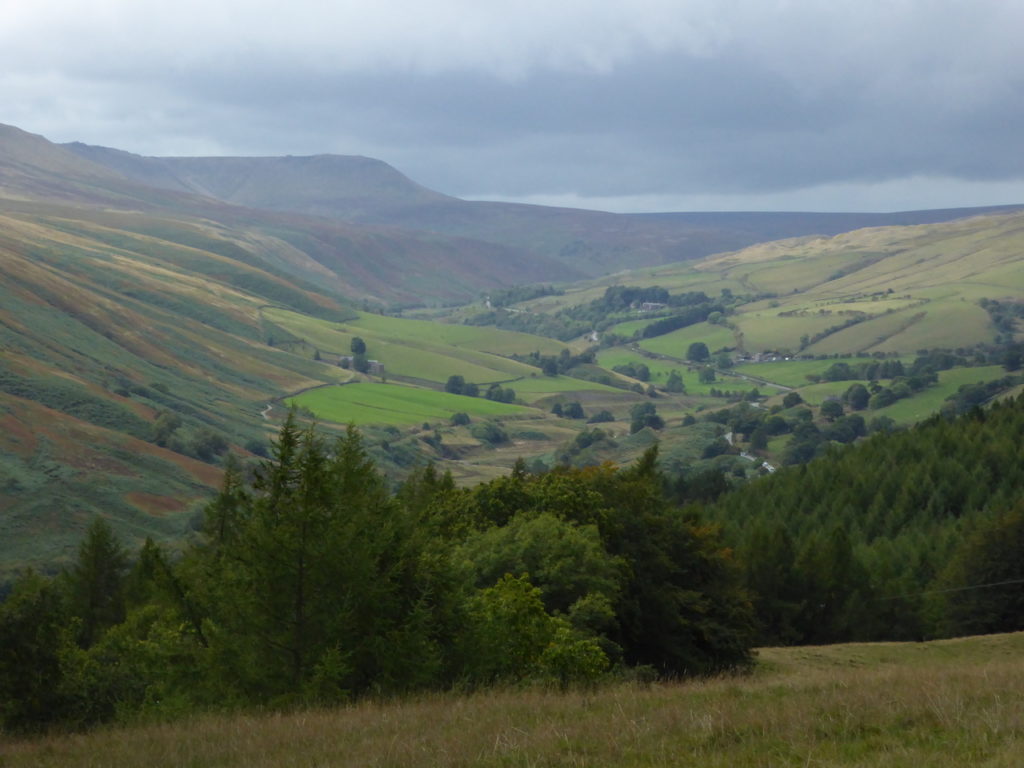
The destination was a little further afield too, in the staggeringly popular Peak District National Park, so the train element was a vital component in the trip as it allowed us to get some 40kg+ of gear on the one bike and trailer to within feasible riding distance of the campsite.
My brother was travelling light on a much less powerful Nano-powered folder.
The Shakedown
I trialled Freeparable’s T2 trailer on previous trips and decided to try it on a shakedown run around my home area with around 33kg of gear (trail 22.5kg for the trailer, tent and a stock of food and 10.5kg in the Vaude pannier setup for spare clothes, cooking equipment and electrics plus more food).
After a comparison with my Chubby Brompton trailer I decided to take the latter; it was much easier to mount on the Haibike which had a rear frame design meaning the T2 would only mount at a very specific angle, takes more weight and dismounts more suitably for train travel.
As I had chosen to do a fixed base trip and only needed to tackle roads and broad tracks with a trailer the T2’s brilliant ability to tackle rough off-road tracks, including singletrack and access barriers wasn’t required on this particular trip.
Getting There
Pre-ride map planning had revealed a very tempting-looking and relatively new route from the heart of the major northern city of Sheffield to our chosen base at Bamford, a village in the White Peak area of the National Park at the heart of a great trail area.
The plan was for me to explore some of the more challenging bridleways (though not the most full-on ones) and my brother to explore a nice looking network of easier family style rides along the valley bottoms and sides and around the Victorian reservoirs.
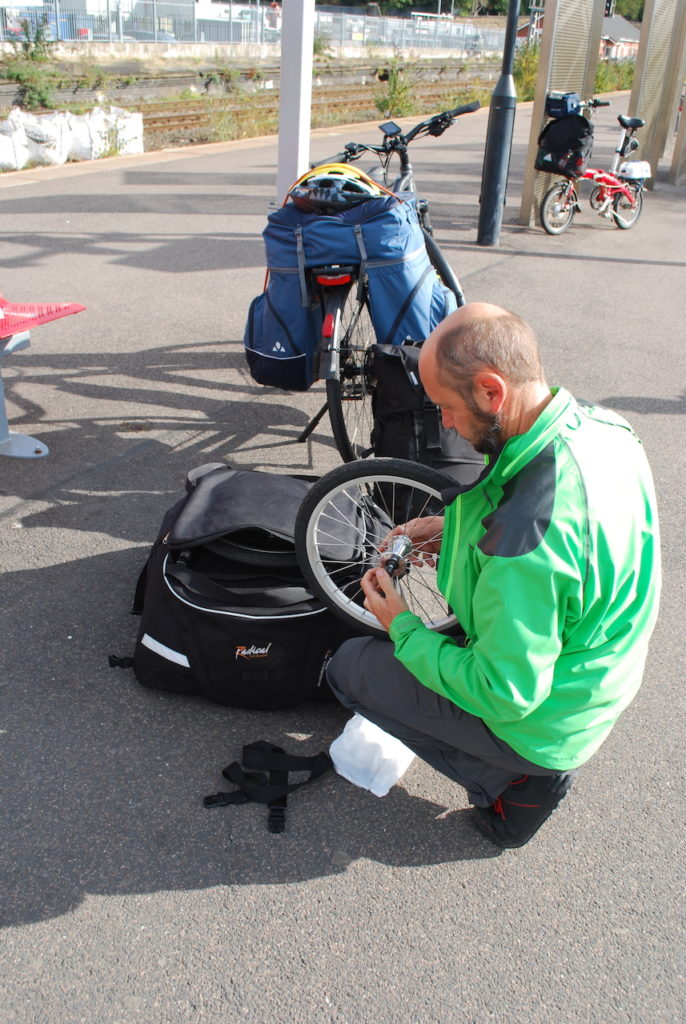
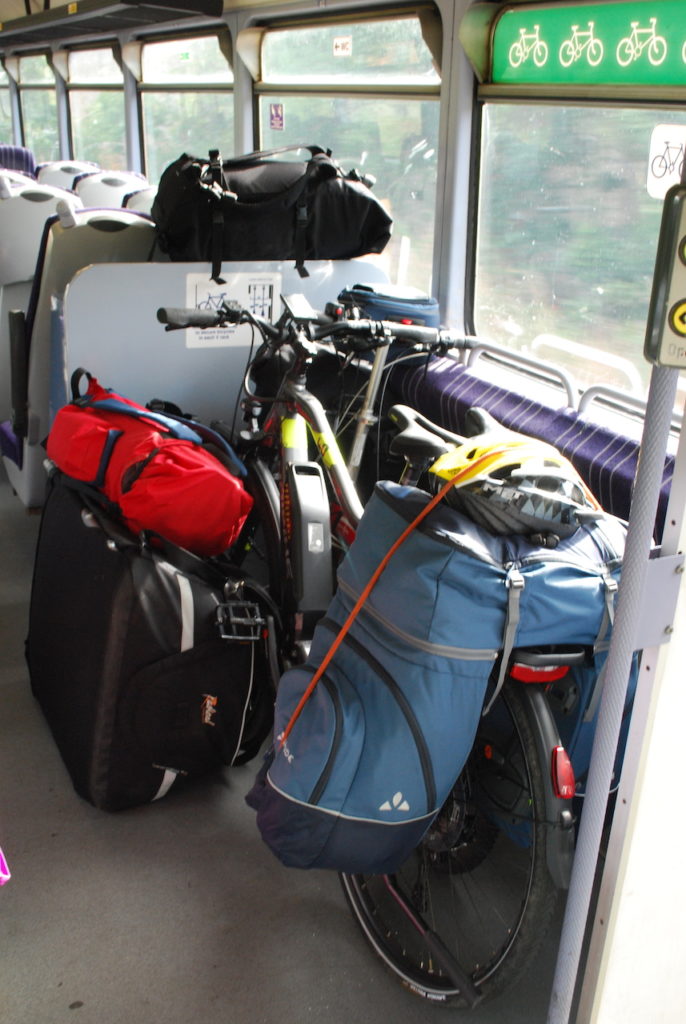
At the train platform the Chubby wheels and towbar are dismounted and stored in the top of the trailer fairly quickly and the midday local service to Sheffield has plenty of designated storage space for three large bags and two e-bikes.
Sheffield was once a steel-producing city but has since reinvented itself as a blend of university town and a centre for cultural and sporting attractions.
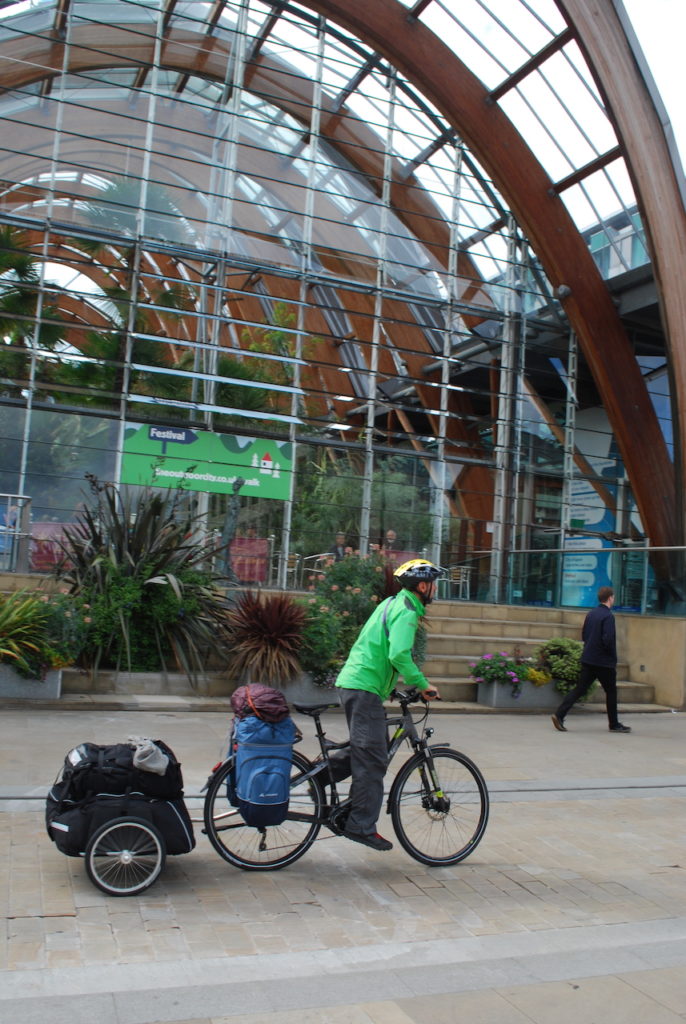
These days it also has an attractive centre, as we discovered on our ride through the centre.
Perhaps best of all, the route to the Peak National Park is copiously and accurately signed from right outside the station all the way to our destination – admittedly quite an unusual situation for a UK cycle route.
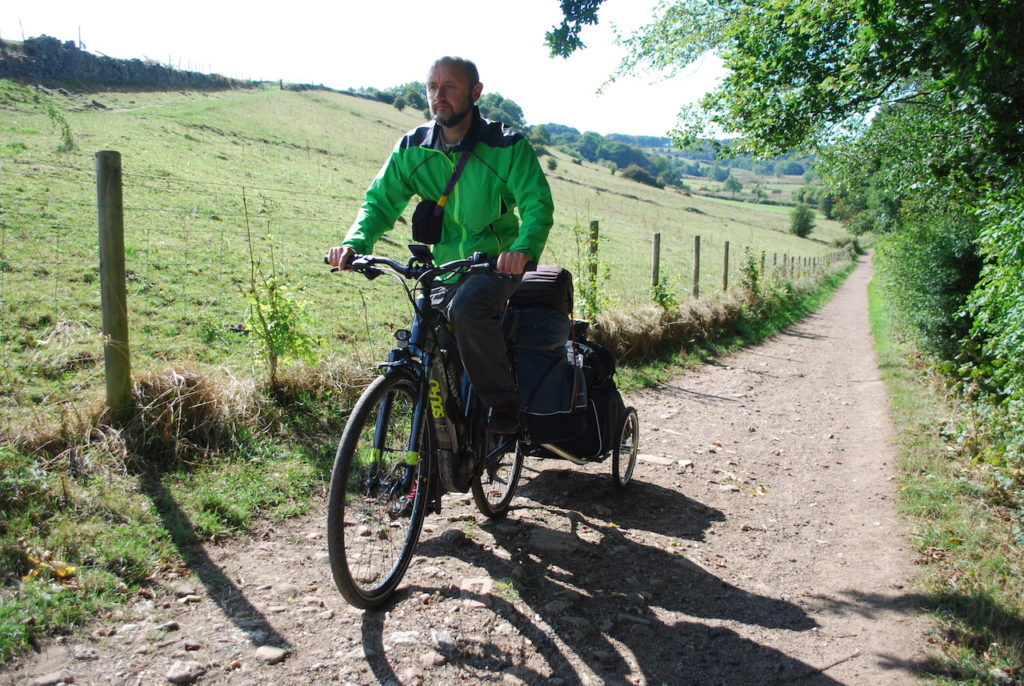
With the bulk of the weight being towed in the trailer and lighter, smaller items in the Vaude Karakorum pannier set, I was pleased to find the extra weight doesn’t affect handling too much over the variety of terrain.
The wonderful universal joint that Radical uses as a hitch means the significant weight in the trailer is rotationally decoupled from the bike (ie is doesn’t affect handling whilst cornering) and the trailer design mean the weight stays low down, which allied with the relatively wide wheelbase means any danger of tipping is hugely reduced.
Of course with this weight on board and steep hills to conquer the e-bike comes into its own, making light work of some sustained if generally not extremely steep gradients plus headwind.
The excellent torque at low cadence of the Haibike’s Yamaha motor (more of which below) is great for stopping and starting to route find, take photos or just drink in the views.
After taking in city attractions such as the Winter and Botanical Gardens the route enters countryside proper on the city outskirts at Whiteley Woods in the Porter Valley.
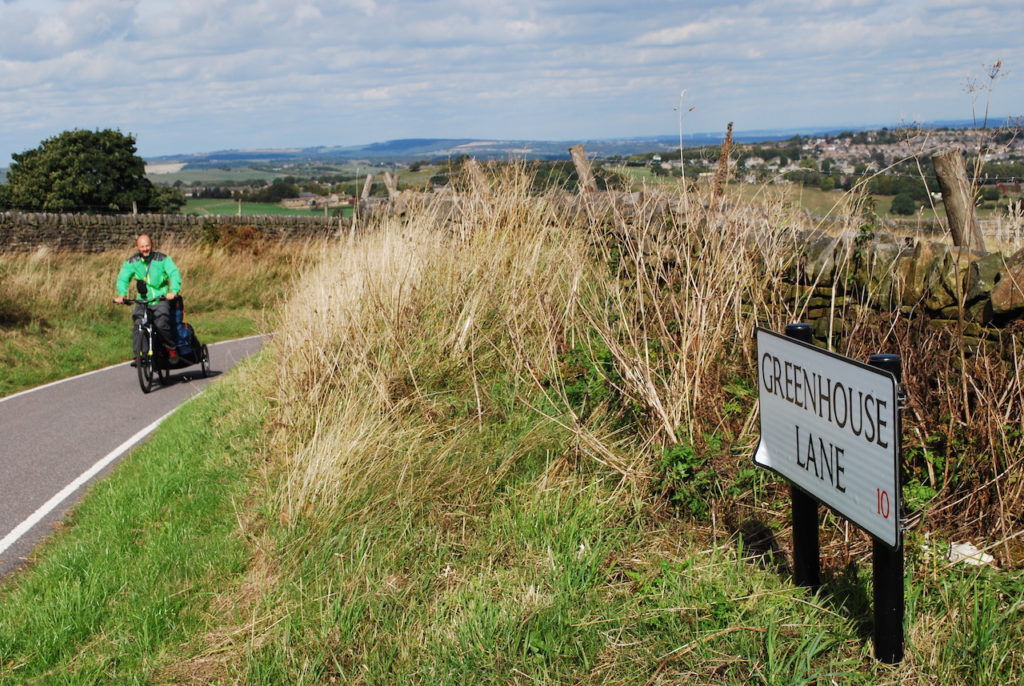
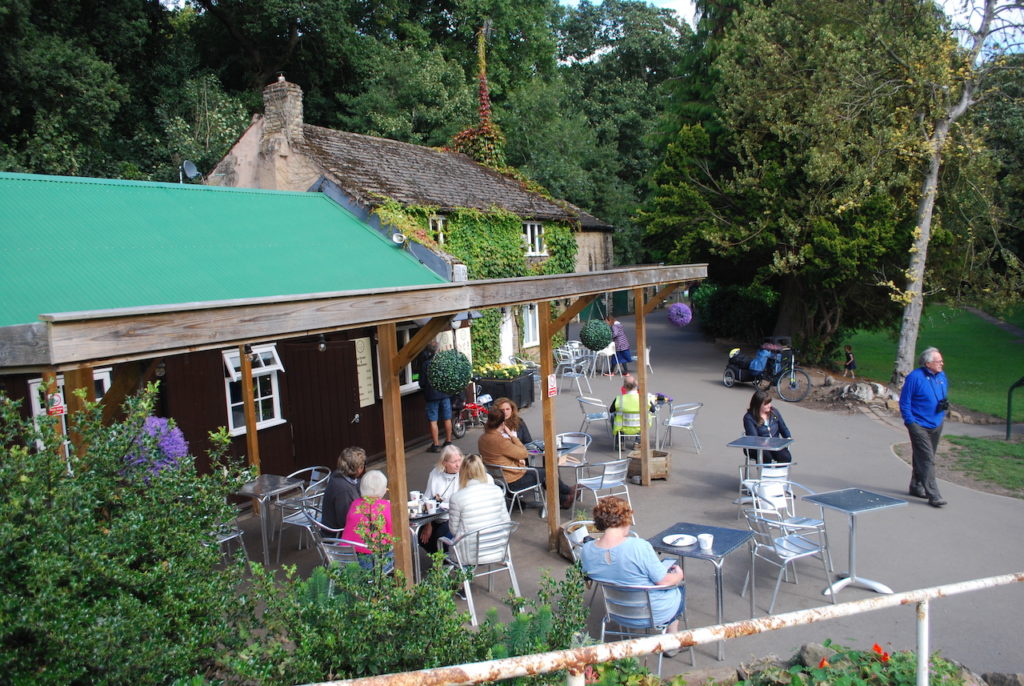
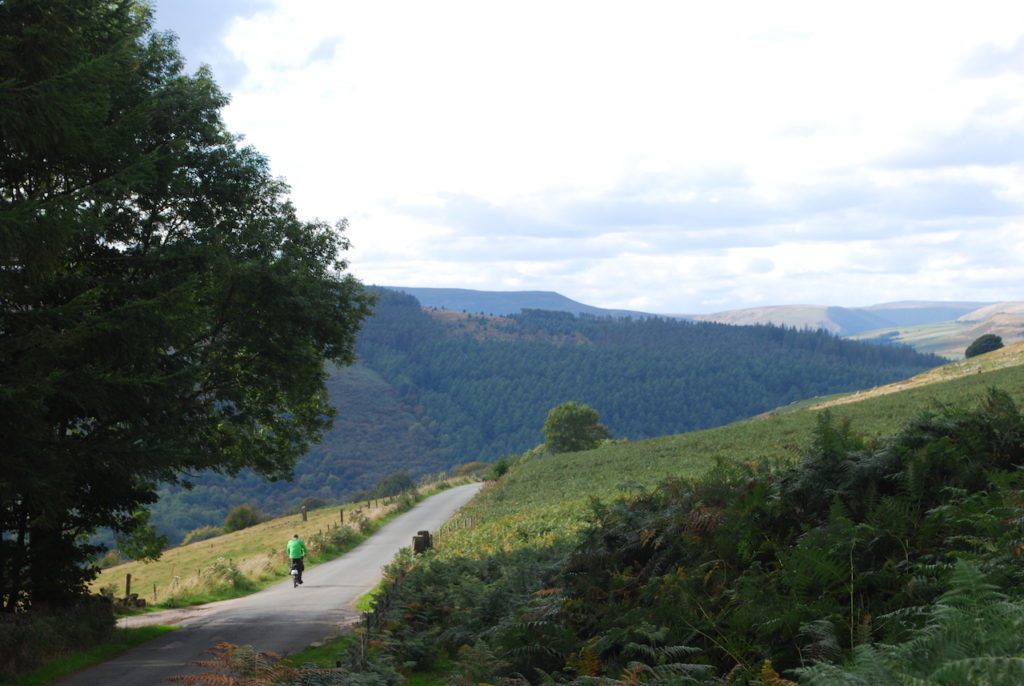
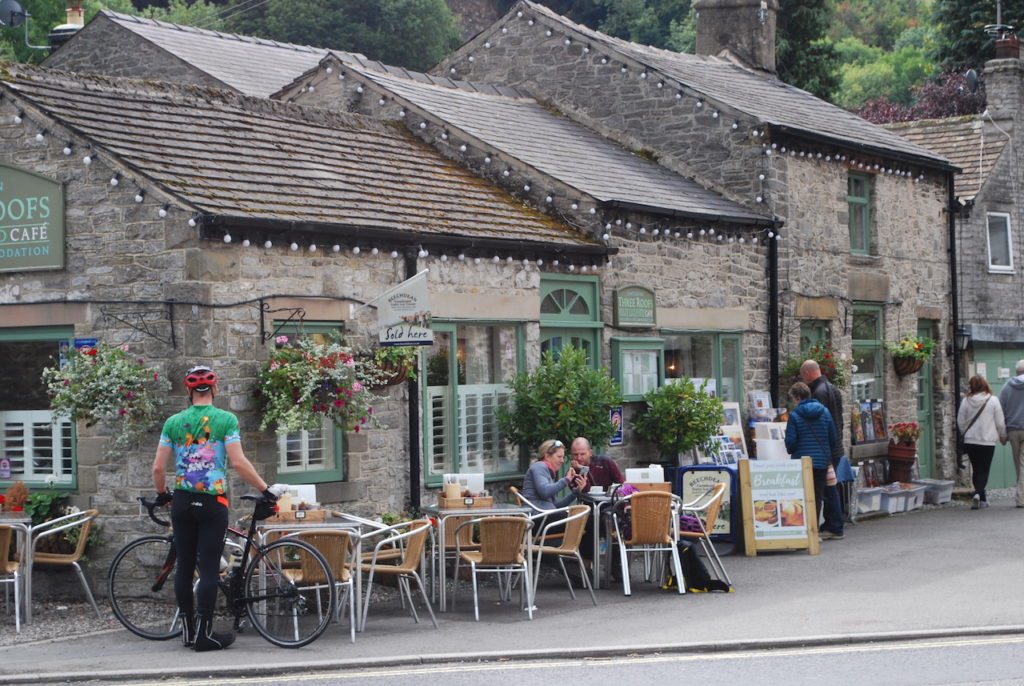
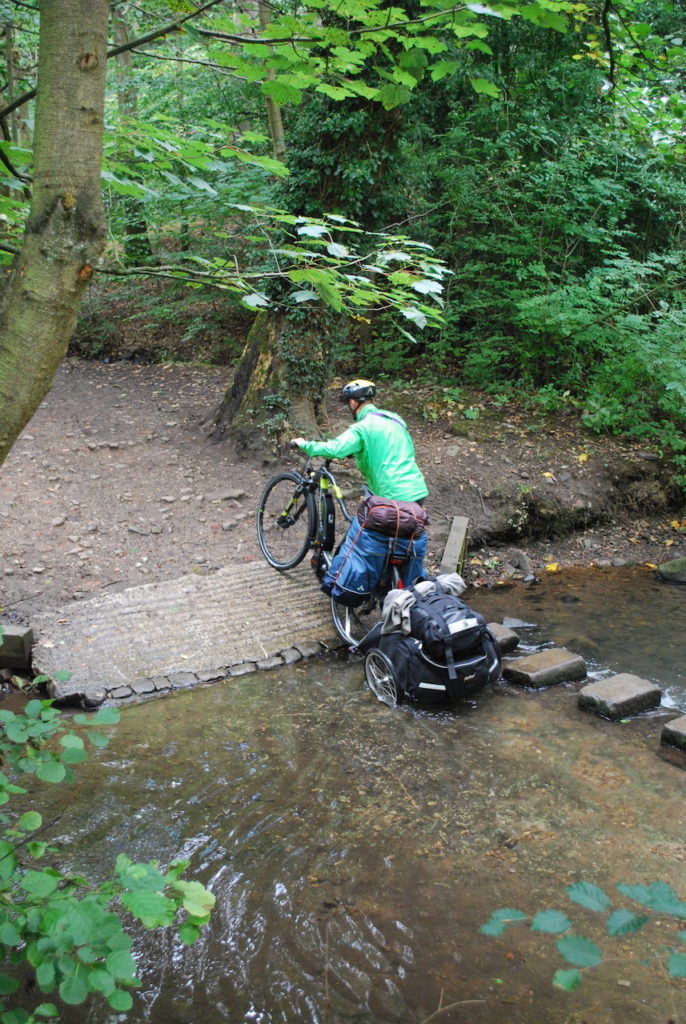
After negotiating a small ford and an undulating earth track we find a lovely coffee break at Forge Dam cafe before the real climbing begins on minor roads and the scenery becomes increasingly spectacular, culminating in a wonderful approach to Bamford with spectacular Peak District views.
It’s no wonder the Peak attracts around 9 million visitors yearly, making it the UK’s third most popular National Park behind the Lake District and the Yorkshire Dales.
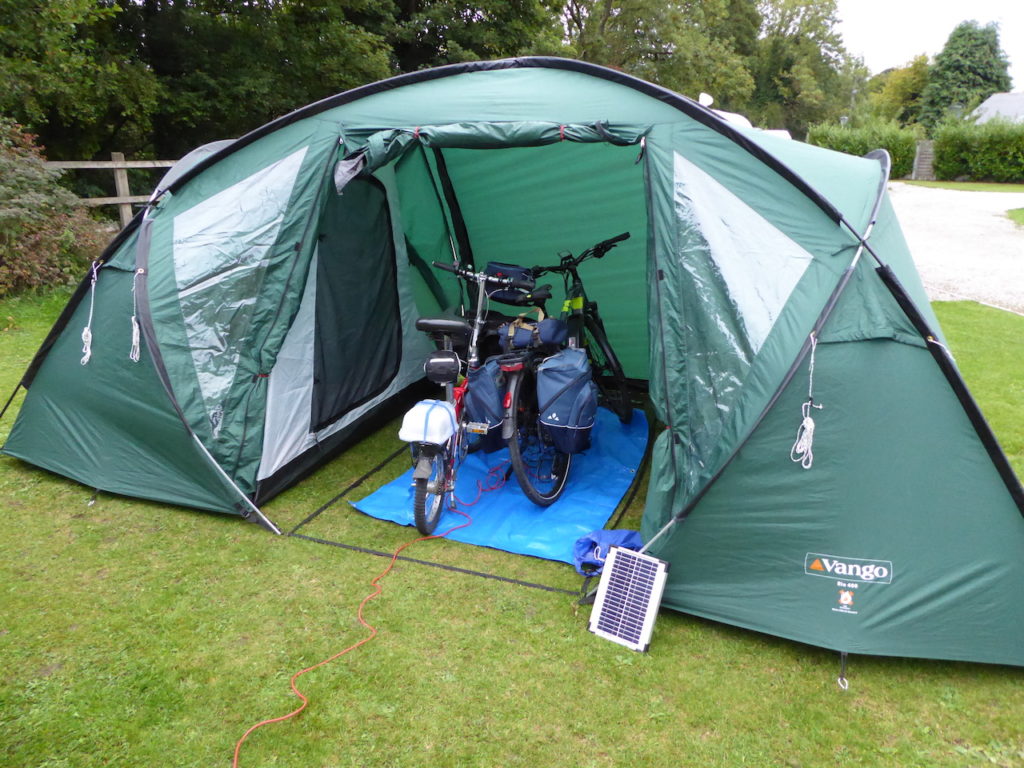
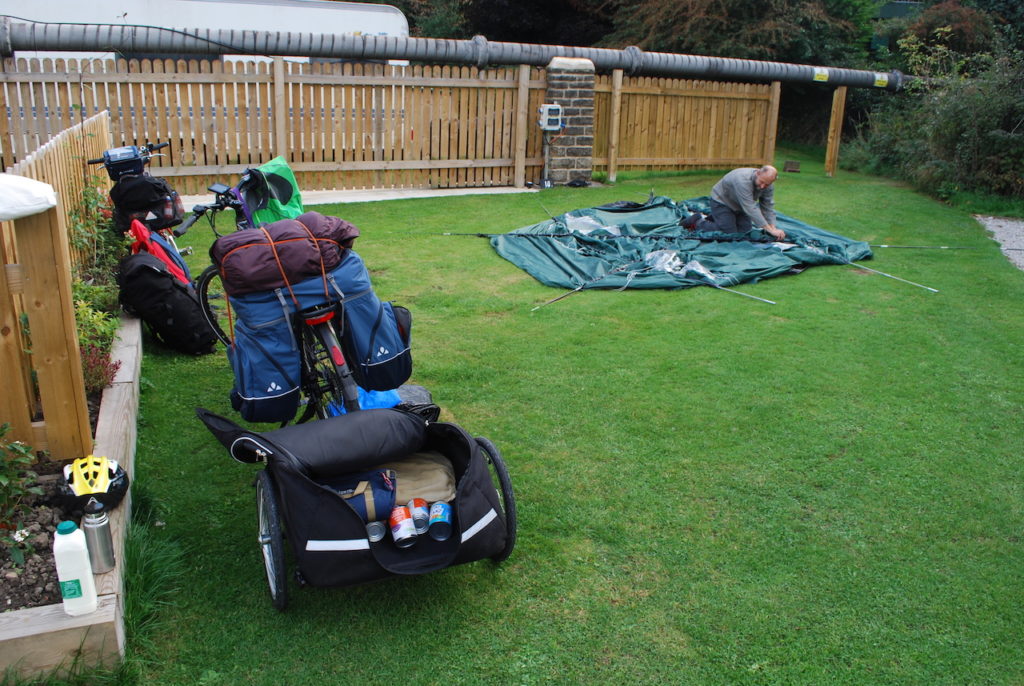
With the tent pitched and with a coffee simmering away on the stove we feel smug that we have managed to bring almost as much gear and are afforded as much or more living space than many of the other campsite visitors who have arrived by motor vehicle (most rather large motor vehicles at that).
The Rides
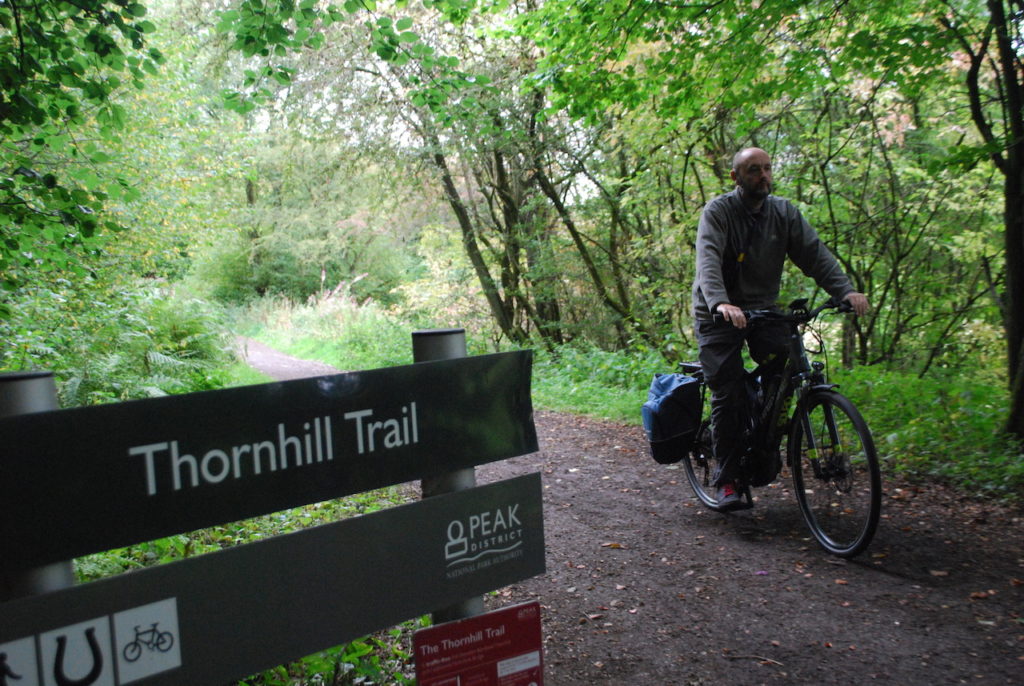
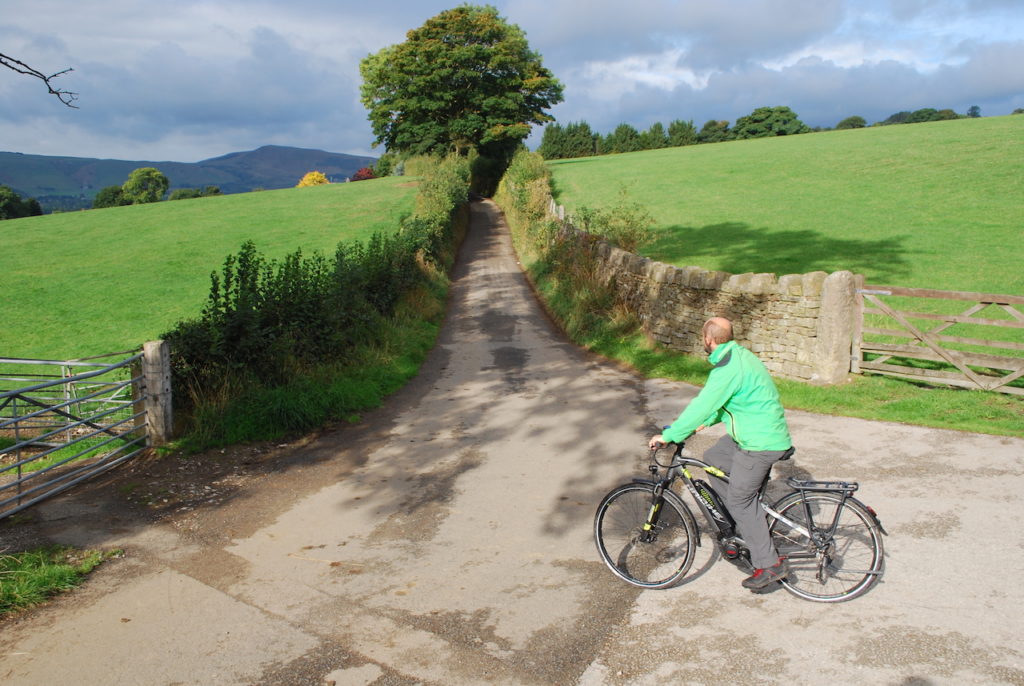
Day one involves heading north up the Thornhill trail. Handily, our Swallowholme campsite is within a couple of minutes ride of the start of the trail on mainly quiet lanes.
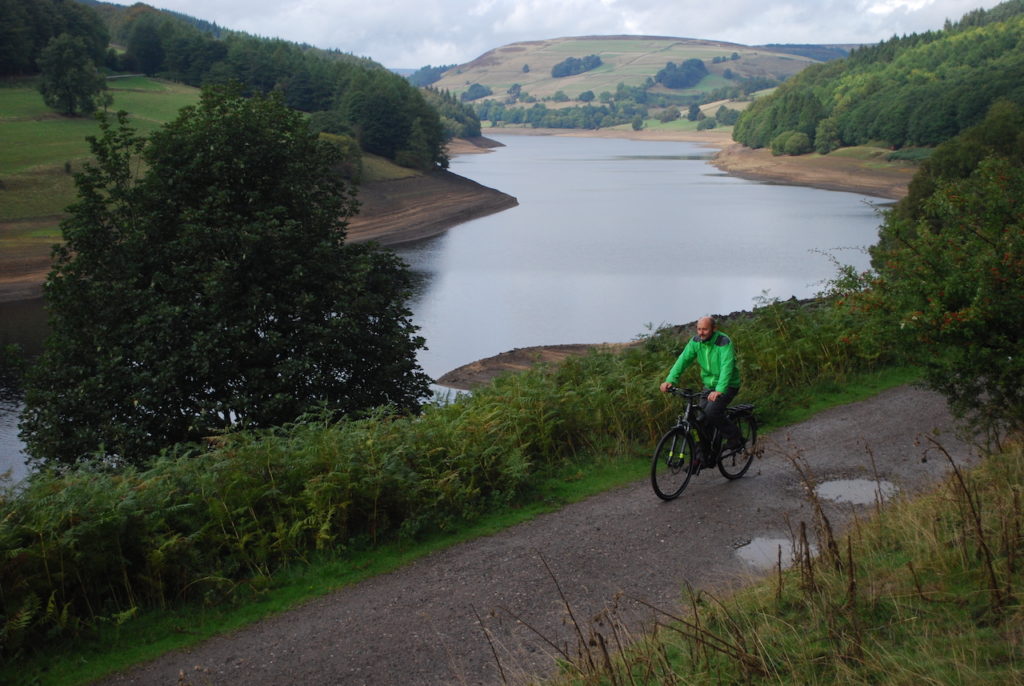
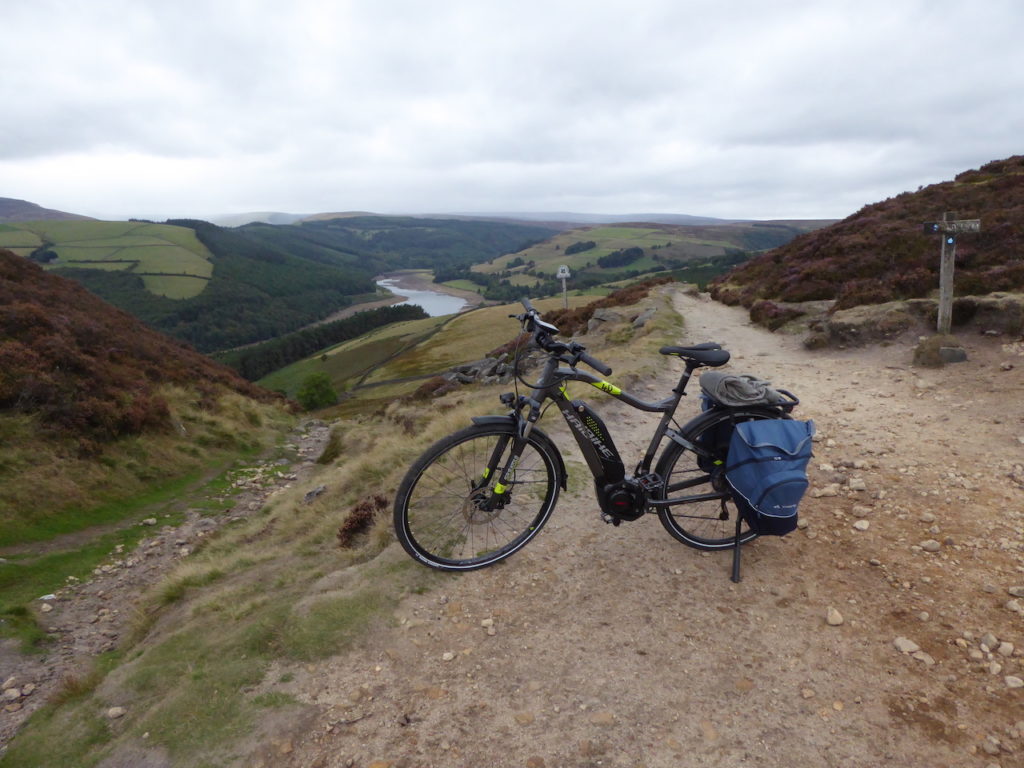
Heading past Ladybower reservoir I leave my brother to explore some of the easier round reservoir route and pick up a fine bridleway ascent that culminates in a magnificent view down the northern end of Ladybower Reservoir before a fine descent past a mountain shelter (which comes in handy as the weather closes in and becomes very wet).
A break in the rain allows me to descend the last section to the valley floor on fine stone setts that look to have been recently laid.
I rendezvous with my brother at Fairholmes visitor centre which acts as a base for cyclists visiting the area and I discover the National Park cycle hire centre here has a couple of Haibike emtb hardtails.
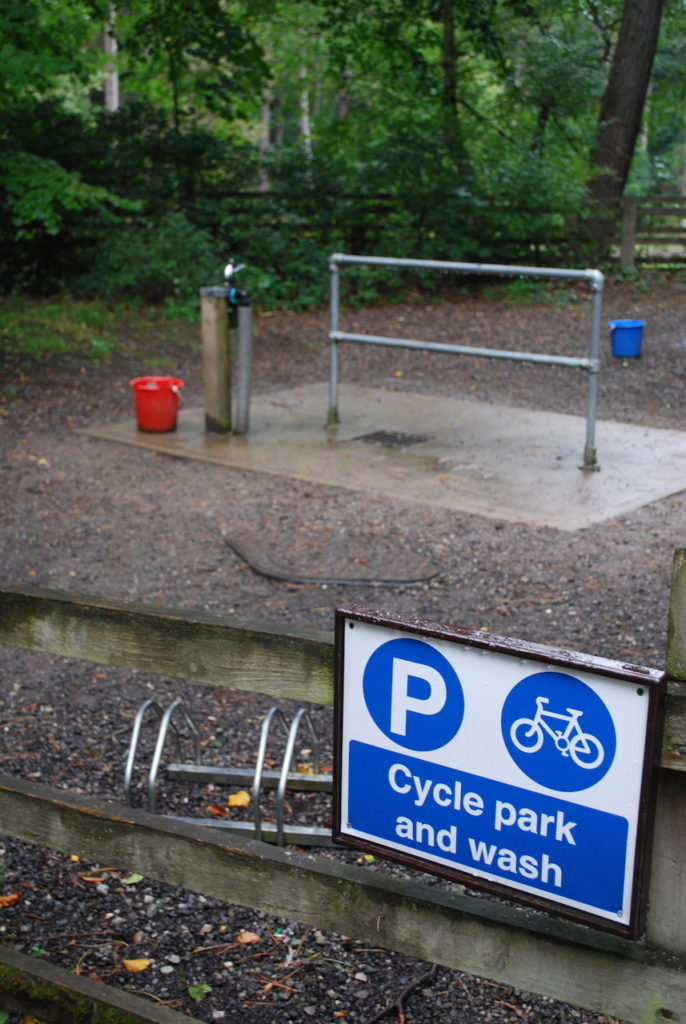
There’s also a handy bikewash and cafe though it’s not needed today as the rain persists and means we have to call an early halt to the day’s riding.
It does mean we have the chance to sample the delights of the Rest Cafe in Bamford and the Anglers Rest pub in the evening (both actually part of the same community owned business which also runs the village post office).
Although the round reservoir routes are easy and often through thick conifer woodland there is plenty to keep your interest, including the site of the ‘lost’ village of Derwent, the memorial to Tip the sheepdog and information about the Dambusters and the magnificent dams here they used as mock practice for their WWII bombing runs against the dams of the Germany’s industrial heartland.
The second day’s riding in fairer weather means a more ambitious route, using the signed Sustrans National Cycle Network Route 6 from the campsite to the tiny and idyllic village of Aston, where again I leave my riding partner and head up and up on an increasingly spectacular bridleway along a ridgeside ride known as Hope Brink, with stunning views over Loose Hill and the Noe Valley.
Part way along we pass the ancient signpost of Hope Cross – reminding me this route actually dates back to Roman times and possibly before. I have to dismount on the rocky descent before a lovely and more forgiving section over Bridgeend Pasture and by Crook Hill to finally drop back down to the reservoirs.
My brother explored NCN route 6 further west and enjoyed a quiet road route that meant he could explore the joys of picturesque village Casleton and nearby Peveril Castle.
The Haibike
The Haibike Sduro Trekking 4.0 offered outstanding performance when towing the trailer – it’s torque at low revs made mincemeat of the hills I encountered out of Sheffield and as it needs a bit more pedal effort from the rider than some other systems it proved outstandingly economical in power usage terms.
As a trail bike my only quibbles were the rather weedy walk assist evident when crossing the ford out of Sheffield.
For my particular trip it would have been nice if the tyres and basic front suspension had leaned a bit more to off-road use, though some of the bridleways I tackled were really only suitable for full on e-mtbs and not really suitable for trekking models in any event.
For road riding I found the medium sized frame gave my 5’8” body a nice sporty riding position for faster tarmac riding and I was impressed with the entry level Yamaha PW motor.
Although it lacked the brute power of say a top of the line and much pricier Bosch Performance Line CX motor it gave plenty of climbing oomph when ridden in a sporty fashion in slightly higher gearing than I might normally select.
At 2299 euros (circa US$2690 or £2040) and widely discounted online it represents great value for a fully featured e-bike including LED lighting, a solid rack and quality kickstand and fenders.
The Gear – A Breakdown
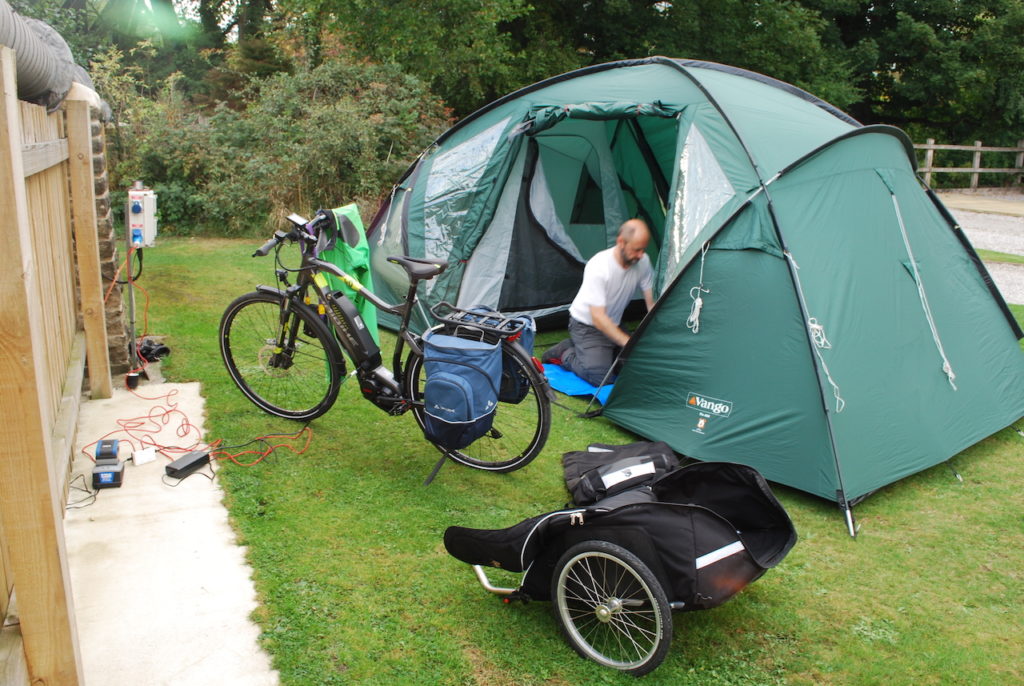
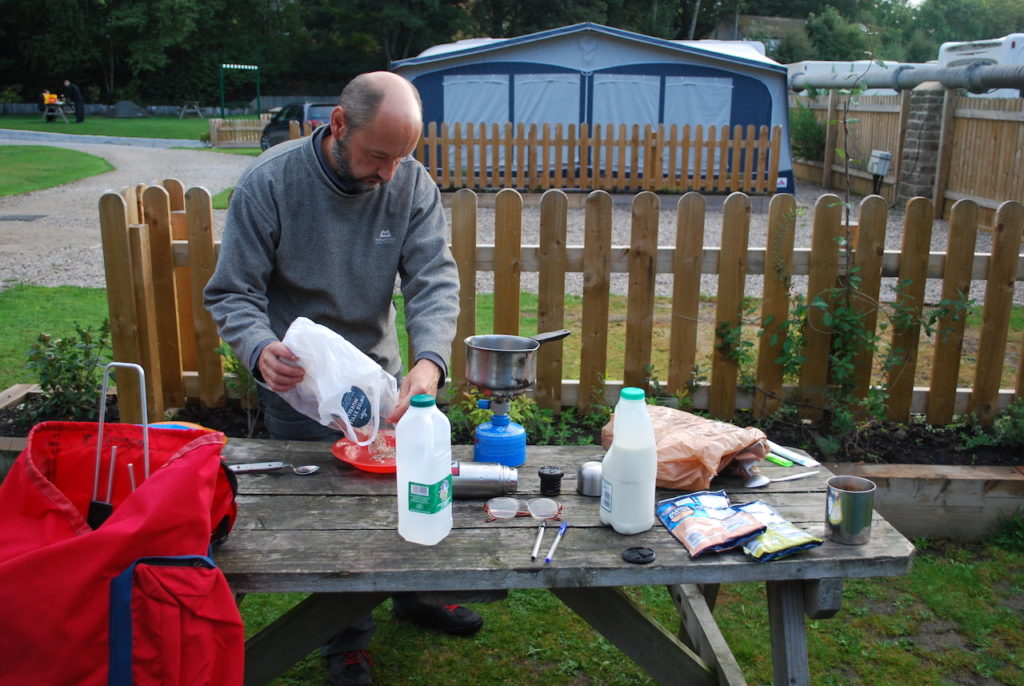
I took more than twice the weight of my previous e-bike camping trip, mainly due to taking a larger 4 man tent (a Vango Rio 400 with two separate sleeping areas and space for a couple of e-bikes to be stored in overnight) plus cooking gear and the solar powered HUBi unit.
Here’s a breakdown of just how I racked up such a weight.
RADICAL CHUBBY TRAILER (24.9kg)
Trailer weight 6kg
Vango 4 man tent 13.5kg
Pillows x 2 1kg
Food 2.4kg
Tools and bike spares 2kg
LARGE CAPACITY SEAGULL MESSENGER BAG (6.5kg strapped to top of trailer)
Bag 2.2kg
Thermarest luxury camp mat 2.5kg
Sleeping bag 1 1.8kg
VAUDE PANNIER KARAKORUM PANNIER SET (9.35kg)
Pannier set 1.8kg
Cooking equipment 1.65kg
(cooker 0.6kg cutlery & crockery 1.05kg)
Electrics 3.4kg
(mains cable 0.7kg Yamaha charger 1kg HUBi solar charging 1.7kg)
Sleeping bag 2 0.9kg
Paper maps 0.3kg
Clothing 0.8kg
Washkit and towel 0.5kg
TOTAL WEIGHT HAULED 40.75KG
Conclusions
The extra weight was definitely worth it.
The extra space of the tent gave not only greater comfort but the vital ability to store e-bikes safely and in dry conditions.
Cooking ability adds to both the economy (you aren’t forced to eat out or eat cold food all the time) and convenience of camping whilst the excellent HUBi solar powered battery system kept our phones topped up over the course of three days and gave us excellent clear light at nights from about 8pm onwards.
At the end of three days the bank of four power capacity lights on the HUBi had declined to two but it had been unusually overcast and gloomy during the trip so under the circumstances it performed well and under sunnier conditions would no doubt have made us power sustainable in terms of lighting and phone power (solar panels are more productive by around a factor of eight in sunny conditions compared to extremely gloomy ones).
The e-bikes were charged off the campsite supply but our cable only has two three pin sockets (one for each bike charger) so the HUBi came into its own as an extra source of electricity.
Much of the gear here was rooted out of the back of cupboards; for next season I’m aiming to get more lightweight equipment but keep the same level of comfort. Watch this space for more detail!
Here are my top tips for hauling bucketloads of gear.
– Opt for a fixed base break, at least for a first trip. The more gear and weight you carry the more the longer it takes to pack and unpack and the more limited your battery range. This kind of heavy duty e-bike camping is great for a short hop from home type trip, making a fun weekend. Once you are pitched the greater space and comfort really comes into its own means you can enjoy days off on the e-bike over more tested terrain and with much less weight.
– Try out at least one lengthy shakedown run with all your gear onboard.
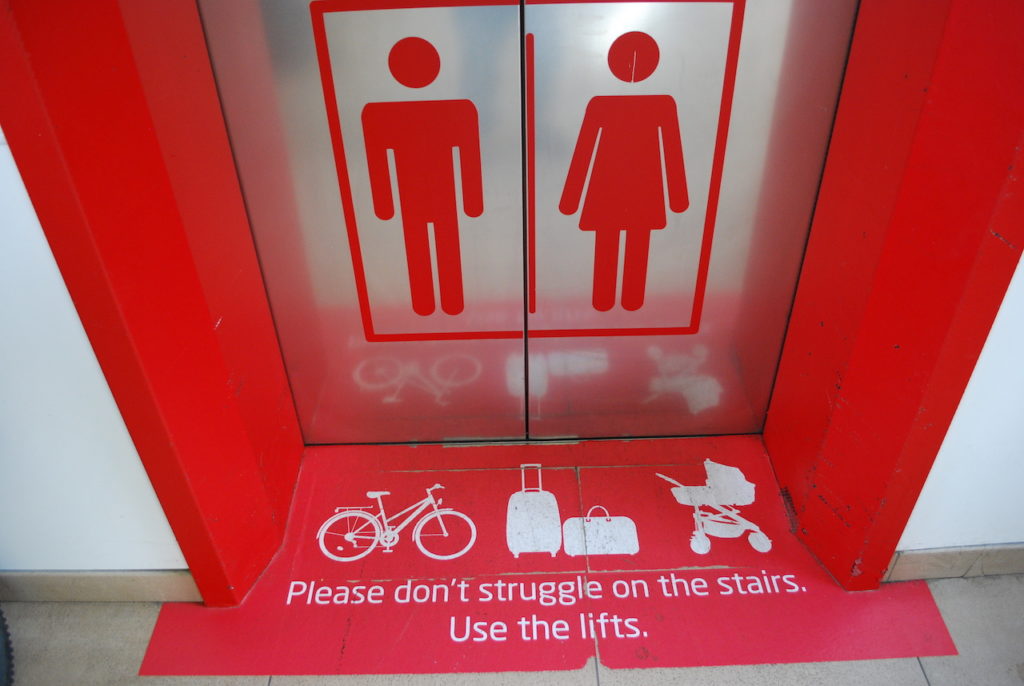
– Check out station access (station lifts or ramp access to platforms was invaluable but there are still some ‘steps only’ access stations in the UK). Train company bike storage policy is clearly important too. You need enough space and need to know if reservations are needed.
– Double check you have a pitch with electric hookup at the campsite and the right charging lead. It’s really obvious I know, but you don’t want to be stuck with an e-bike and a large amount of gear to haul with no power!
– Permission for campfires at your campsite is very useful but not that common in the UK. Out of season it will give you warmth and light on colder evenings and saves fuel for cooking (though it means your cooking pans get covered in black carbon which is a real pain).
Once you have a few such trips under your belt the world is your e-bike oyster!
Stay tuned for more e-bike news & reviews and thanks for reading!
-Richard
P.S. Don’t forget to join the Electric Bike Report community for updates from the electric bike world, plus ebike riding and maintenance tips!
Reader Interactions
Comments
Trackbacks
-
[…] Now check out Part 3 with more eBike camping tips. […]
-
[…] summer gave me the chance to make several ‘comfortable camping’ e-bike trips using an e-bike plus trailer […]


Very useful information.
Can you say more about how you used the charger with the e-bikes? Thanks!
Hi LB
Actually there was mains electricity provided at the campsite and in the UK you need a special supply lead which you can then connect up to a set UK style domestic plugs and hence connect the bike chargers. Here’s a link to more info:
https://www.campingandcaravanningclub.co.uk/helpandadvice/technicalhelp/datasheets/electricity-campers-caravanners/