Top Tips for a Successful Electric Bike Tour [VIDEO]
 Whether you are just heading out on a long day ride or a multi-week odyssey, I’ve found paying attention to a few key areas can make all the difference between an easy, enjoyable e-bike trip, or one that you that ends up meaning you wish you had thought just a little more about your pre-ride choices.
Of course, everyone is different in what they expect from an e-bike trip and what aspects are most enjoyable.
The following list of pre-ride considerations is my own choice based on all the e-bike trips I have completed over the years.
If you have your own tips based on your own experiences just let EBR know!
1. Pre-ride Check

Whether you are just venturing out on the shortest trip or the e-bike trip of a lifetime, its a very good idea to get into the habit of doing regular pre-ride checks.
The most regular check for any e-bike rider should include the following:
– Battery is full or at least has enough capacity to get you where you want to go – ideally this should be done a few hours before you go to give you a chance to recharge if required!
– Ensure wheels are secure in the frame and axles not loose and rims are running true and there are no rubbing brakes on the rim or disc, there are no loose spokes and tyres are inflated to the correct pressure.
– Lube the chain if needed
– Have a quick ‘pre-ride ride’ to check brakes are working OK and gears are shifting OK and the power controls to the motor and display are working OK. You may also pick up if anything else obvious is wrong such as a loose seat, handlebars or pedals.
For longer multi-day rides where you will be relying on the bike almost every day and may not find it easy to get to a bike shop, then there a number of extra checks you (or a local bike shop) can carry out :
– Chain wear check, nicely covered by RJ The Bike Guy here:
– Cables; are your brake and gear cables running as smoothly as they should be or is it time to replace them?
– Disc brake pad or rim block wear; most e-bikes feature one of the two types of braking. Check how much wear there is left on the pads or blocks. If your bike is rim-braked check the actual condition of the rim as these can eventually wear through and you don’t want a failure on tour.
– Headset check. The bearings in the headset should not shown any sign of movement whatsoever, but should be smooth and free-moving. This article should cover the headsets found on most decent quality e-bikes but if you need the low down on different types of headset see this article too.
Remember the saying ‘your bike will last as long as you take care of it’…
2. Maintenance Skills
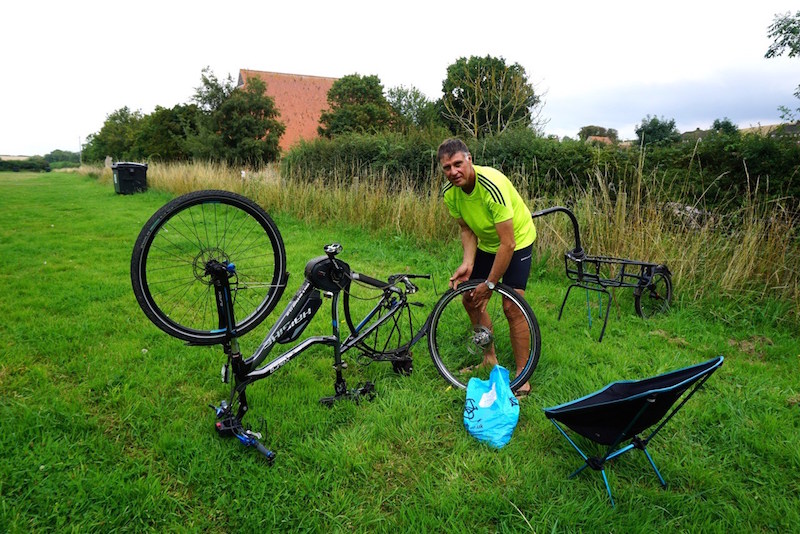
Most critical of all is the ability to swap out an inner tube – on really long tours knowing how to use a puncture repair kit may come in handy too should you run out of spare inner tubes.
I’d guess at least 80% of the repairs I’ve done on e-bike rides have been puncture repairs.
Brake and gear / transmission maintenance are also common possible problem areas as they tend to be the ones that get a lot if repetitive use and wear.
My own minimum tool kit would be tyre levers, a good multi-tool and spare inner tubes, though again that list might get a bit longer on a long tour that meant being away from larger towns.
If you are not at all mechanically minded it’s possible to get an e-bike that will be low mainteance – best thought of before you buy your e-bike than after!
Hub gears and disc brakes (rather than rim brakes and derailleur gears) tend to be easier to maintain and develop less faults though they can add weight (especially hub gears).
Belts drives are a nice low maintenance option too and an even lower maintenance option than hub gears is the remarkable ‘stepless’ gear system from Enviolo, found on quite a wide range of e-bikes.
For ultra low maintenance brakes you might want to look at enclosed hub brakes which are virtually maintenance-free, though found on very few e-bikes (Gazelle’s CityGoC7 HMS is a rare example).
There are many brands of tyre that feature some form of puncture protection or you might even consider puncture proof models like the Geckos we have looked at before.
3. The Shakedown for Longer Tours
The longer the tour and the further from home it is the more it makes sense to have a shakedown ride or two.
The more riding you do on the same e-bike and set up and in similar conditions to a long tour, the less likely you are to have problems.
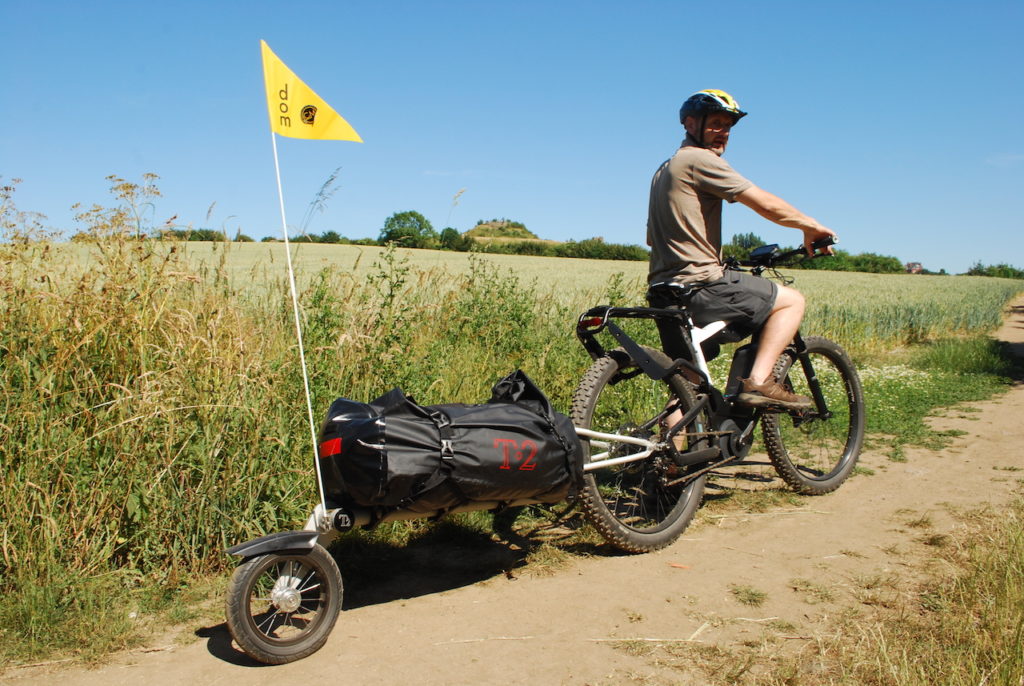
Similar conditions means similar terrain, similar road or track surface, similar weather, similar load (in kg) and kit list on board and loaded in a similar way (panniers and / or trailer etc) and similar daily mileage!
If you are e-bike camping a shorter trip of a night or two nearer to home will be a good test to make sure you are fully equipped.
If you can manage a couple days riding like this you may discover that, in fact, you do need a spare battery when you thought you didn’t, or you remember that you haven’t packed that extra warm jacket you will need when the evening draws in….
4. Pack Just Right for You!
Packing just what you need is actually quite a skill that comes with experience. Each trip is different, each e-bike is different, each rider is different.
The internet is full of trip lists for biking trips, and most items on these lists can of course apply to e-bike trips too.
The most obvious difference is that you will need to remember any key required to remove your battery and any spare batteries if on long and hilly day rides. If travelling abroad make sure you have the correct mains plug adapter if one is required.
In terms of packing it’s wise to think about what factors are the most important to you on your ride; do you want to ride be travelling lightly, travelling comfortably or travelling cheaply? It’s very hard to do all three to the upmost.
For example the lightest e-bikes and gear are usually amongst the pricier options, with the additional complication that more batteries and range mean more weight too.
Similarly if you want to go really comfortable, for example off-road on a full suspension e-bike and with plenty of clothing options, it may be hard to trim the weight from your overall package of e-bike and kit.
But if you are not too bothered about that extra pair of shoes and can put up with taking time to wash garments every day or two then travelling a bit lighter suddenly becomes easier.
If your budget allows you to eat out a lot or spend a lot of time in cafes then you don’t need to think about any kind of cooking gear or travel kettle for hot drinks.
Once you have balanced the above factors in your own mind it’s much easier to sit down and put a list together. For e-bike camping you can also refer to EBR articles here, here, here and here!
At the other end of the spectrum check out this list for lightweight (non e-bike) camping where a couple manage to take all they need at less than 20kg between them, including cooking and various electronic gear.
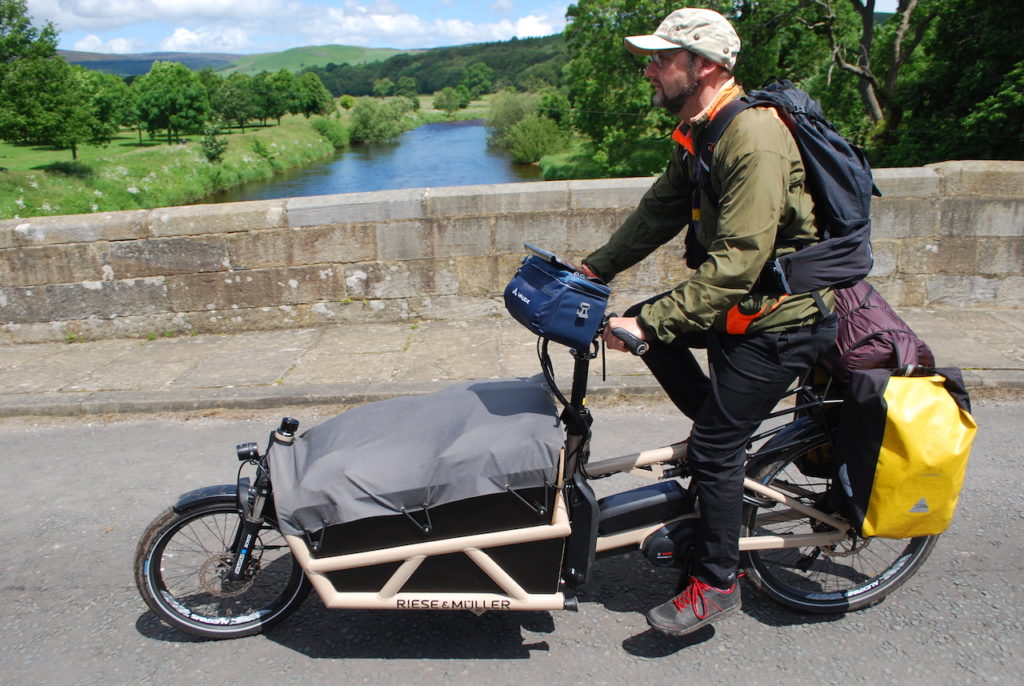
When loading the kit onto the e-bike the best advice to keep the bike as stable and rideable as possible is to put heavy items as low down and central as possible.
5. Navigation Tips – Smartphones, Paper Maps and Other Things Electronic
Smartphones and increasingly smart-GPS units are getting so reliable and sophisticated that you can now travel with just a smartphone for navigation.
Whilst they are a huge boon to the modern e-biker on tour they don’t tell all the story though.
If you are researching routes the traditional sources of local tourist offices and paper guidebooks and maps can still be a great source of inspiration and information on just what route conditions and sights to see you can expect along the way.
Talking of smartphones, the proliferation of electronic gadgets means being able to charge them whilst out riding can mean the difference between never running out of power and missing that fantastic picture, or even worse finding no phone power in an emergency situation.
Historically there are a number of different USB charge ports and they are capable of delivering different amounts of electricity to your device, so it’s important to check that your device will charge from your preferred charging solution.
Charging on the go can include direct from your e-bike (some e-bikes have USB charge ports fitted to allow you to connect smaller 5V devices to them), from a powerbank (like this well-reviewed high capacity model) or even from a 5 V solar panel if away from mains supply (though this is much less reliable unless in a perfectly sunny climate with long summer days).
I tend to travel with a small powerbank in a light backpack and small solar panel on the backpack to keep the powerbank topped up and have yet to run out of power, even whilst carry several 5V devices.
Laptops are arriving on the scene that can be charged via USB-C though it’s a big ask to keep them topped up whilst away from mains supply for any length of time.
Stay tuned for more e-bike news and reviews and thanks for reading!
-Rich
P.S. Don’t forget to join the Electric Bike Report communityfor updates from the electric bike world, plus ebike riding and maintenance tips!


[…] . Source link […]